
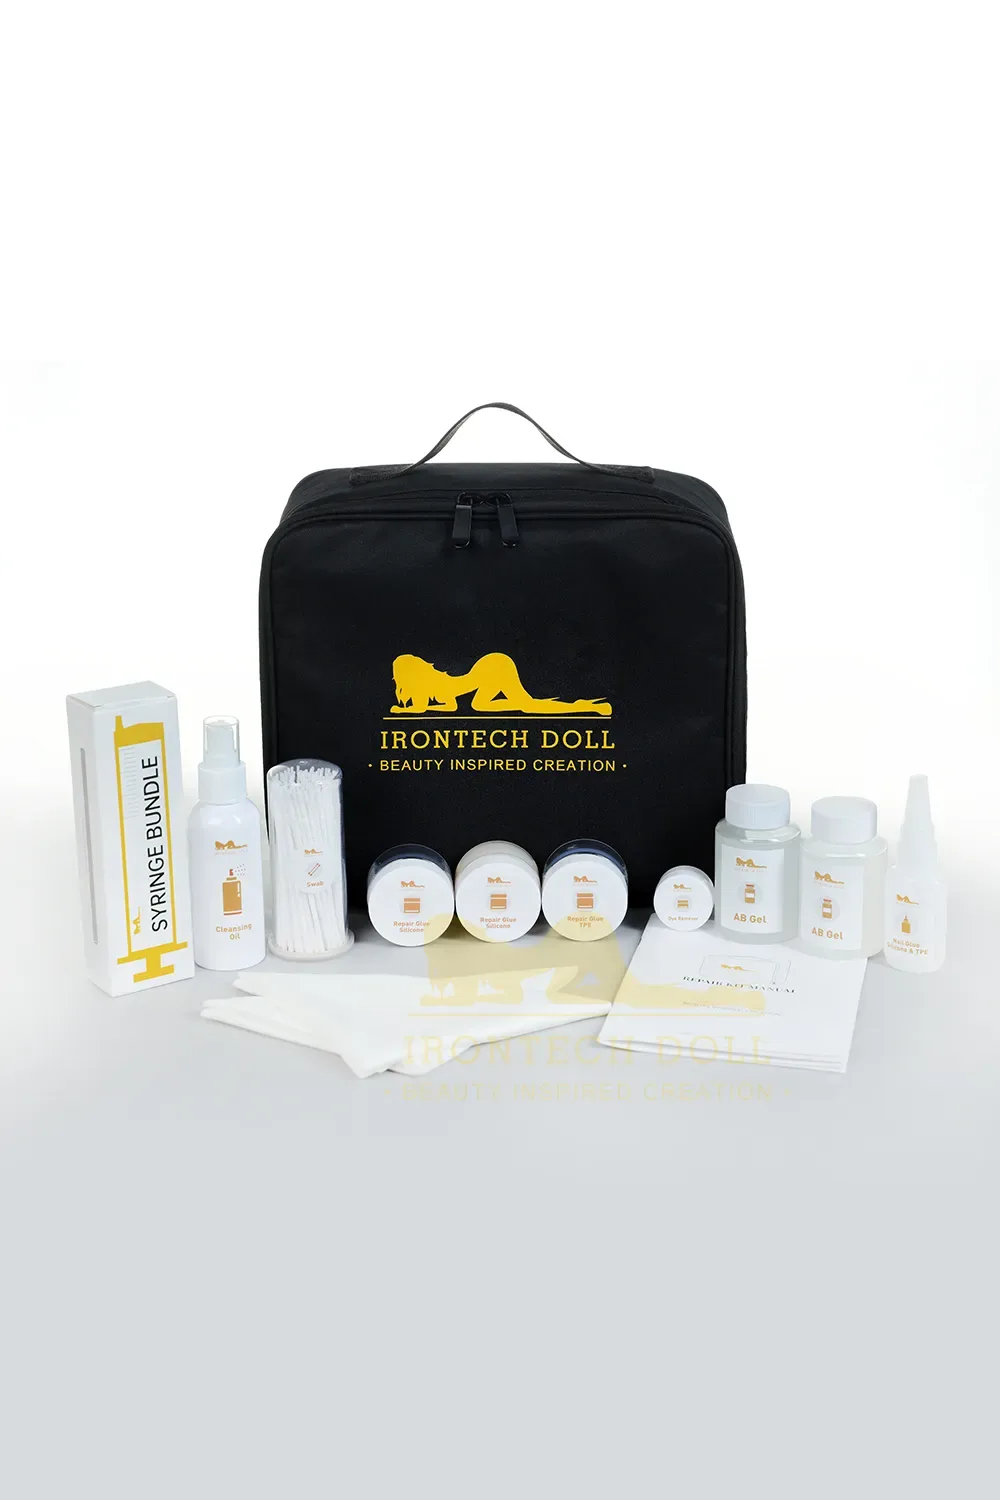
SEX DOLL ACCESSORIES REPAIR KIT
$199.00
Lowest price guaranteeLowest price guarantee — found a lower eligible price? Send it to us and we will review it.
Product details
Sex Doll Accessories Repair Kit Guide for Silicone and TPE Products
This guide provides detailed instructions for repairing and maintaining silicone and TPE products, including fixing damages, adhering to nails, addressing gel breasts or butt deformations, removing stains, and using proper cleaning techniques. It also includes specialized tools such as repair glue, AB gel, cleaning oil, syringes, and cotton swabs, along with essential safety tips and recommendations for optimal results.
Repair Glue - Silicone 30ml
- Clean the damaged area to ensure that it is clean and free of debris.
- Take an appropriate amount of glue from each of the two cans of Silicone Repair Glue respectively. Stir them thoroughly in a 1:1 ratio until it becomes viscous. This can increase the curing speed of the glue.
Note: Once the two kinds of glue are mixed, they will cure quickly. Therefore, please take appropriate amounts separately for mixing each time and use it as soon as possible.
- After mixing evenly, use a hair dryer to warm up the mixed glue. This can also increase the curing speed of the glue.
Note: If the temperature of the hair dryer is too high or it is too close to the glue, bubbles will form in the glue, which will affect its usability and repair effect.
- Use appropriate tools or swabs to dip an appropriate amount of glue and apply it to the damaged area. Then carefully wipe off the residual glue on the surface.
- Let it stand for more than half an hour and then check whether the damaged part has been repaired properly.
Note: The curing speed of the glue is affected by the ambient temperature. Please refer to the actual situation. If the low ambient temperature causes the glue to cure slowly, it is recommended to refer to steps 2 and 3 to increase the curing speed of the glue.
Repair Glue - TPE 30ml
- Clean the damaged area thoroughly.
- Apply glue by using tools or swab.
- Wipe off any residual glue from the surface carefully.
- Let it sit for more than half an hour, then check to see if the damaged part has been repaired.
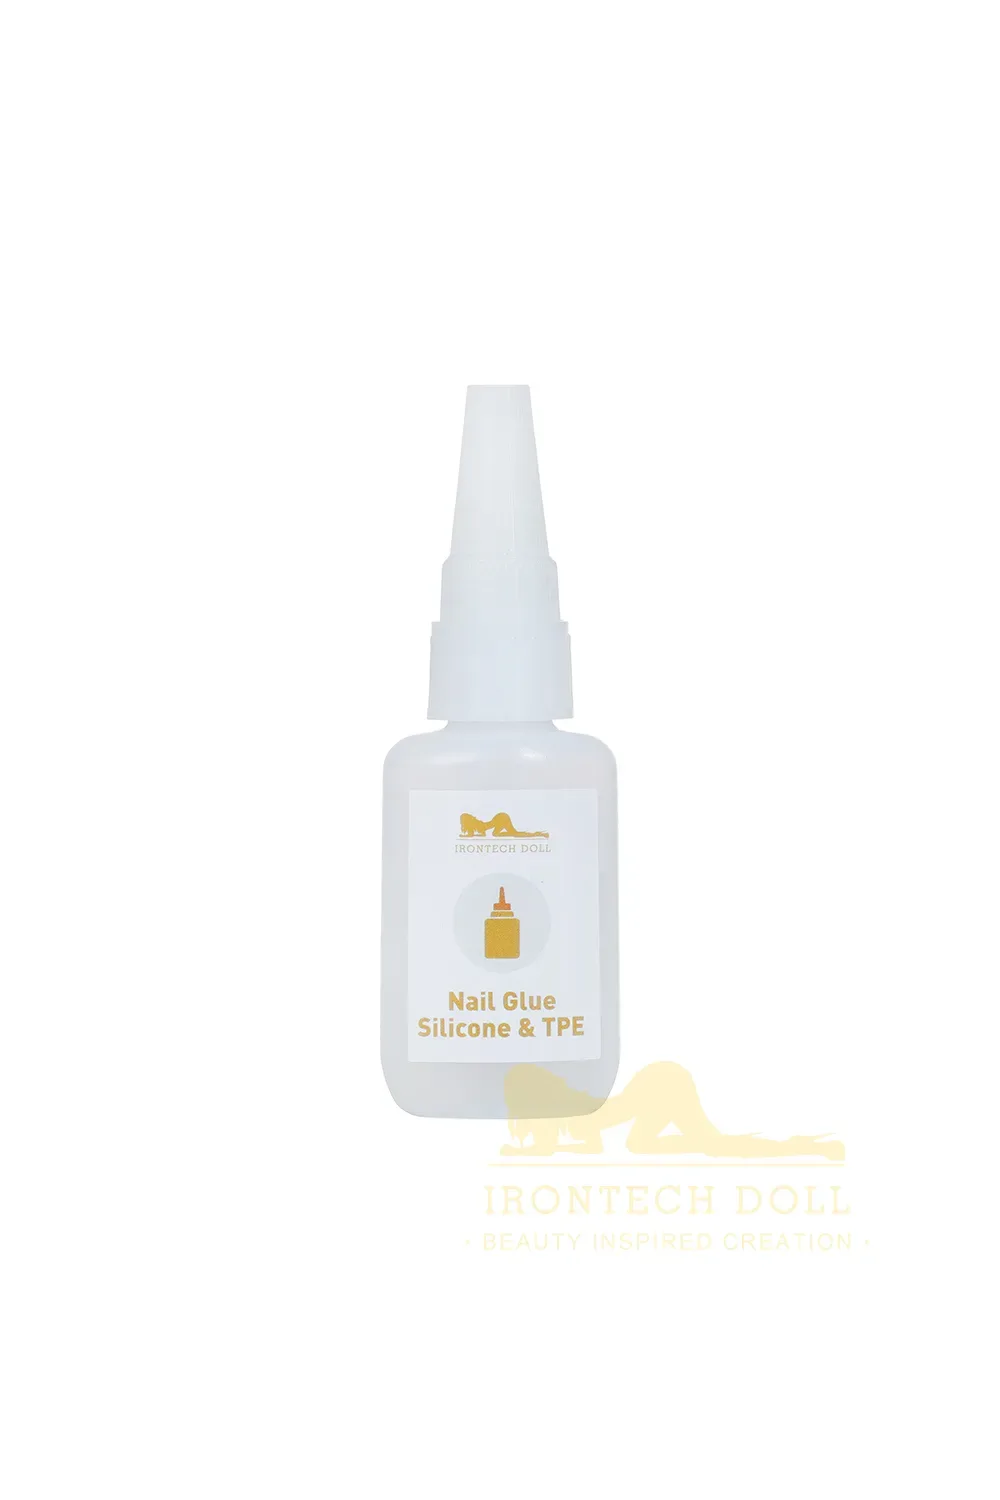
Nail Glue - Silicone & TPE 10ml
- Clean the nail area of the finger thoroughly.
- Remove the cap of the nail glue.
- Apply glue carefully.
- Stick on the nail, hold it in place gently for 30s.
Note: Please avoid squeezing the nail and finger in case increasing the tension
between the silicone and the nail tip.
- Check to see if the nail has been stuck to the finger tightly.
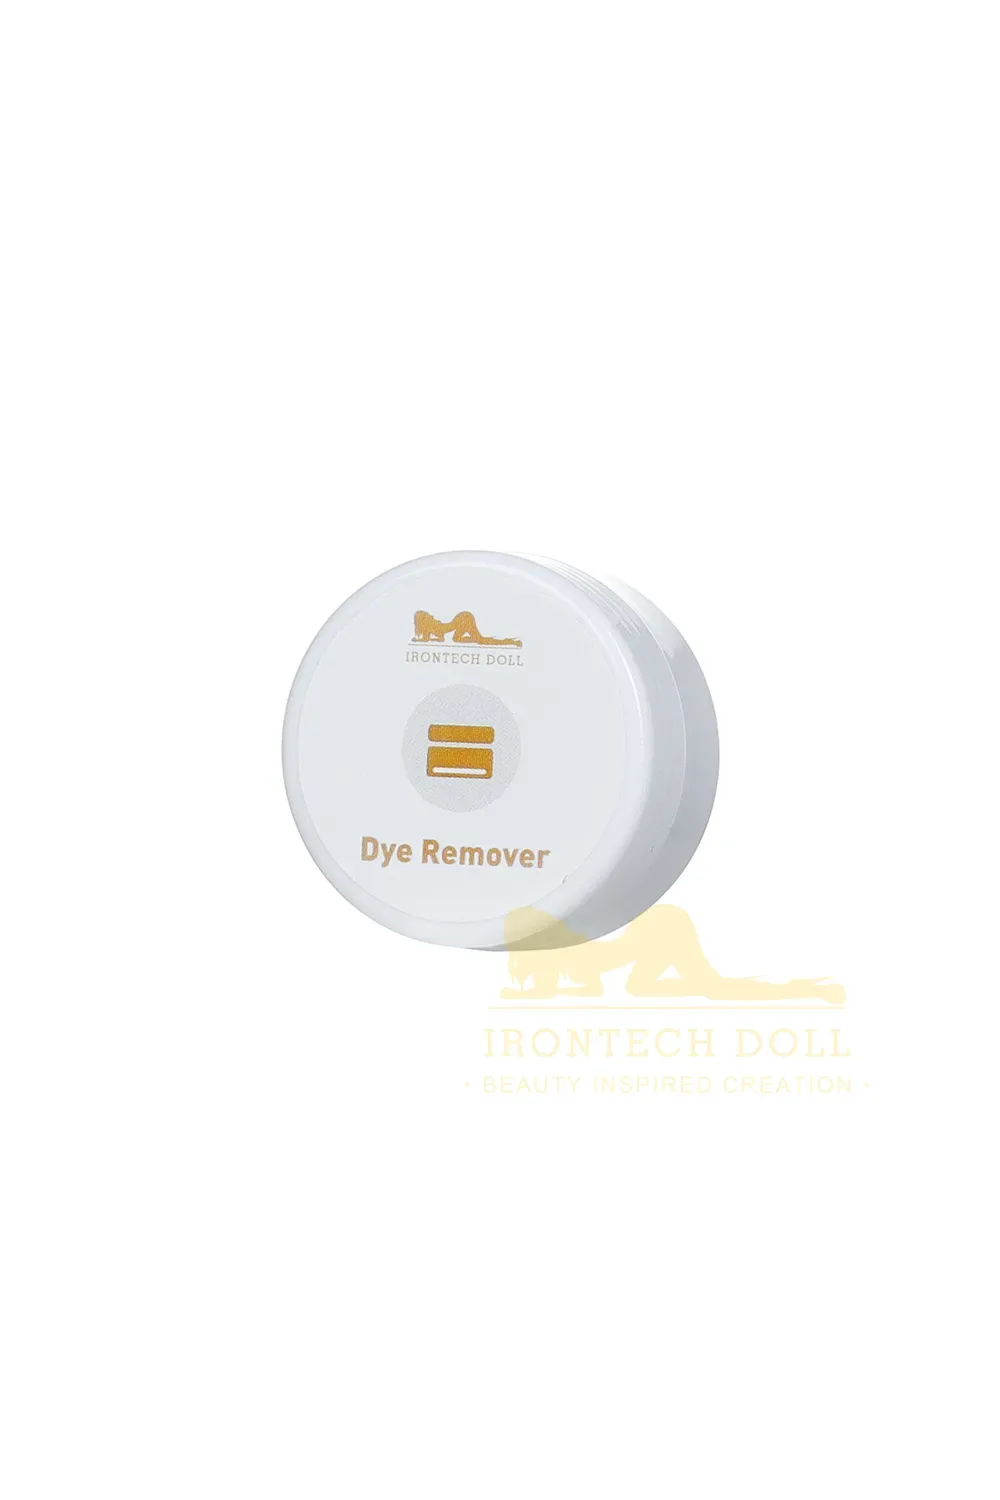
Dye Remover 15g
- Clean the dyed area with Cleansing Oil.
- Apply Dye Remover on the dyed area.
- Let it sit for 8 hours, most of the dye will be removed.
- Clean the skin with Cleaning Oil.
Note: The Dye Remover is capable of fading the dyeing to a certain extent. You may need to apply several times to reach the ideal effect. Please refer to the actual situation.
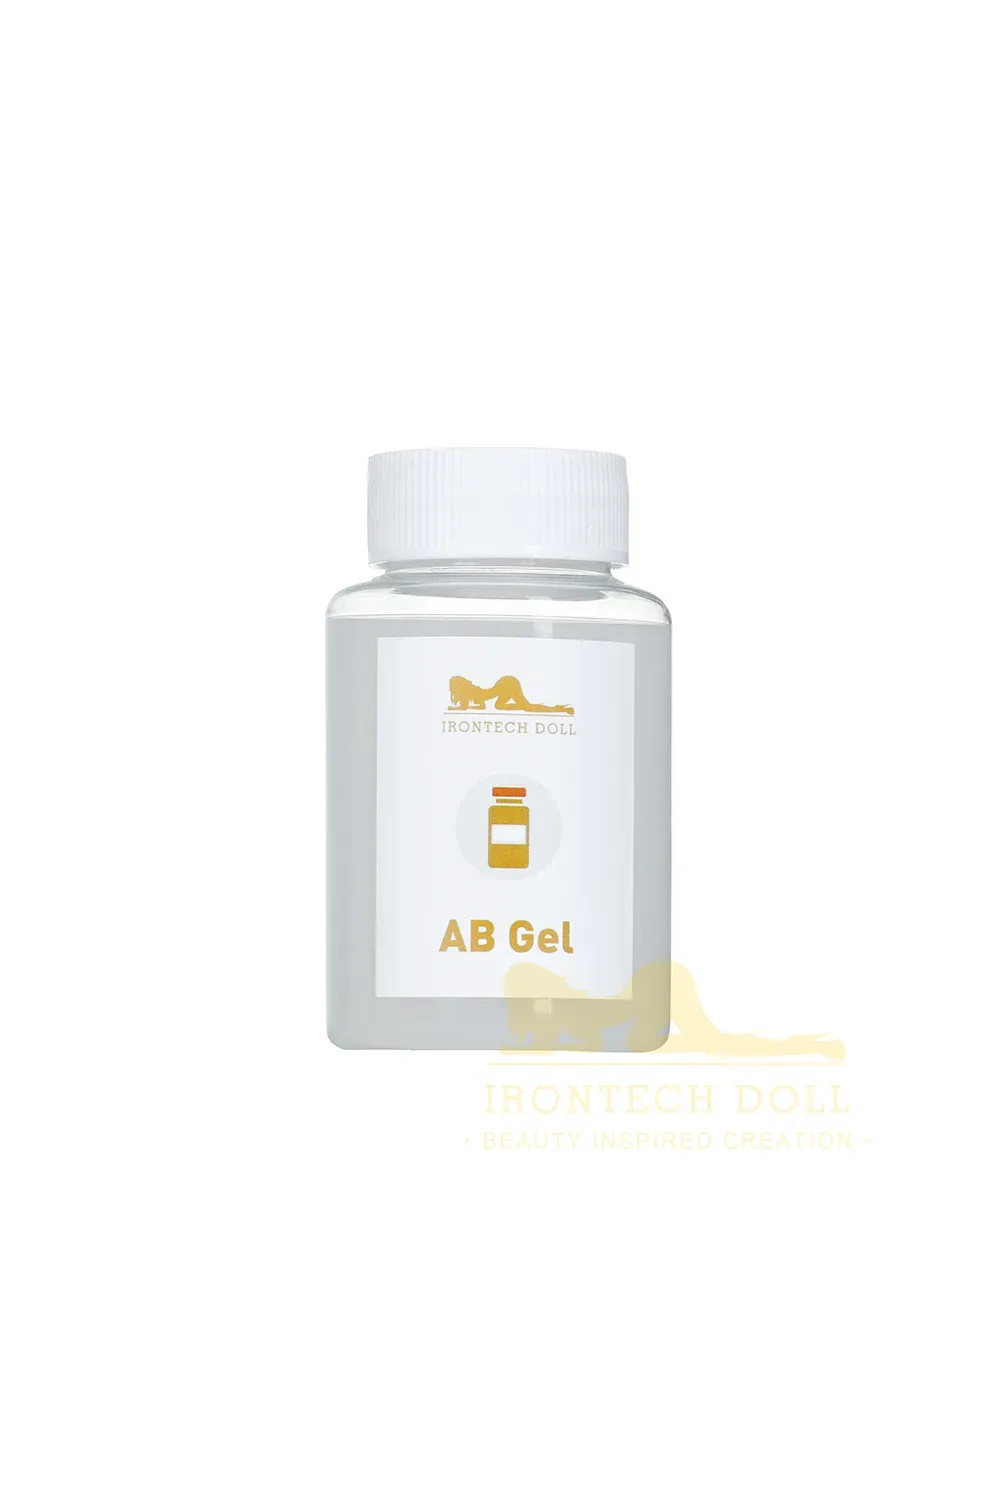
AB Gel - For Gel Breasts or Gel Butts Deformation 100ml
- Prepare an empty cup, a cup of Cleansing Oil, the Syringe Bundle.
Note: The needle is very sharp. Please be careful to avoid being hurt by needles.
- Pinch the nipple with your fingers and insert the needle deep into the nipple.
- After insertion, use the needle to gently separate the gel section from the skin, creating a cavity to ensure a smooth injection process.
- Refer to step 2 and step 3 to create cavity in the other breast.
- Connect the Syringe Needle with Syringe Connector and make sure they are well connected.
- Using the cup to totally mix Gel A and Gel B in the ratio of 1:1.
Note: The gel needs to be stirred and injected into the breast as soon as possible after mixing, otherwise it will solidify very quickly.
- Fill the Syringe Barrel with gel and connect it to the Syringe Connector. Hold the joint in place to start the injection.
Note: Adjust the position of the needle to make sure the gel is evenly distributed.
- Withdraw the needle and clean the Syringe with Cleansing Oil to prevent blockage.
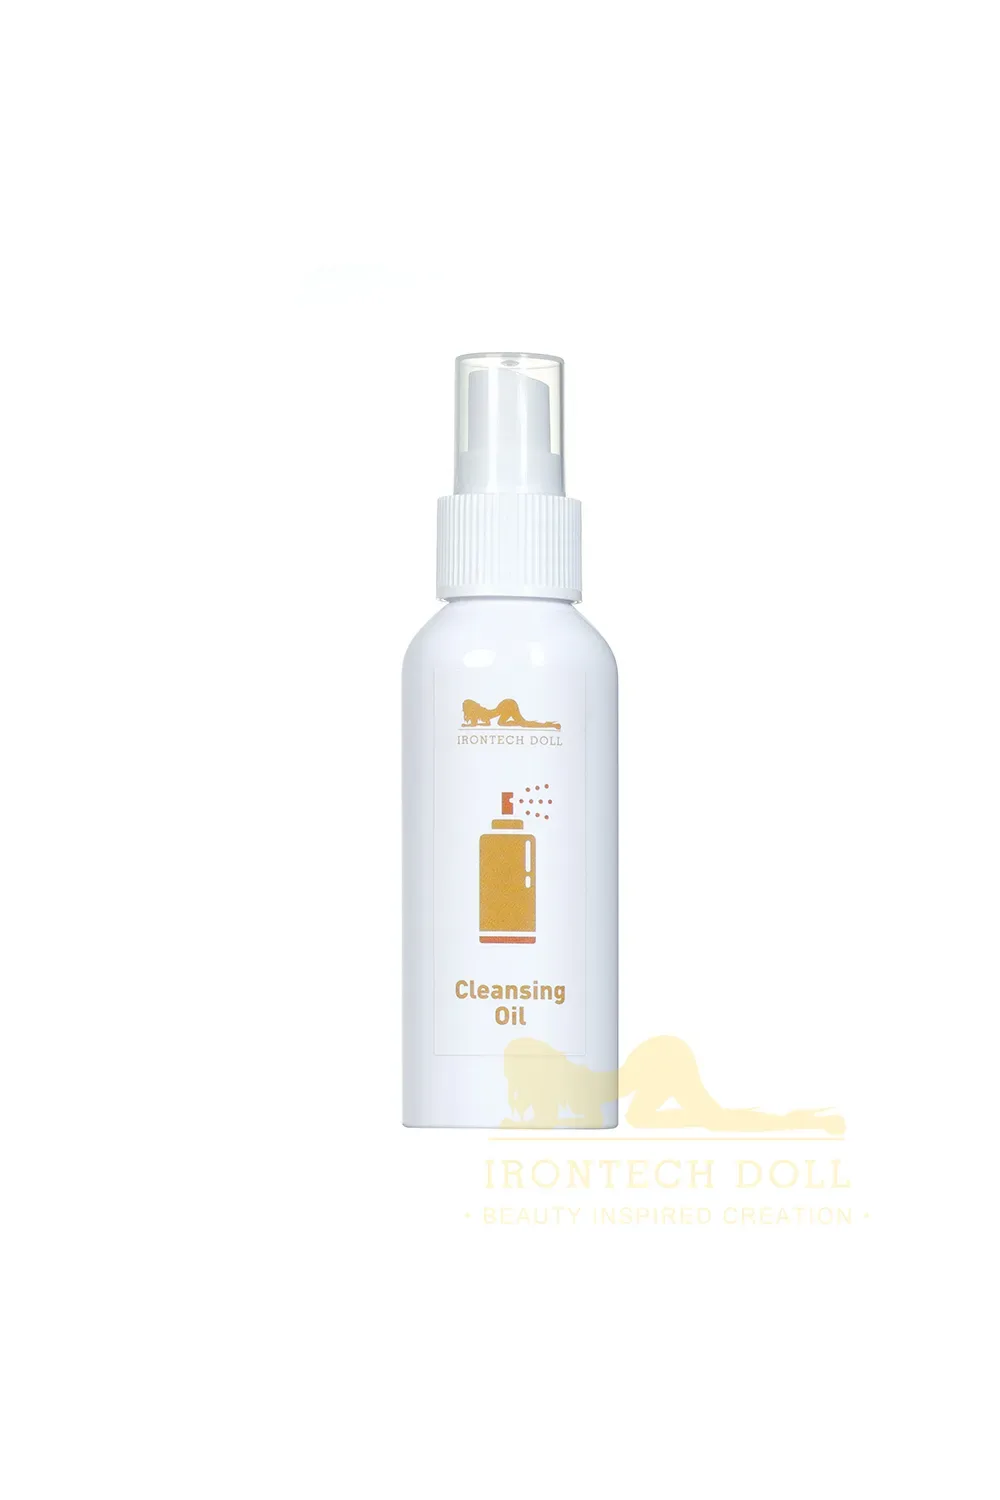
Cleansing Oil 100ml
- Apply on the stained area directly then wipe it clean, or soak the Cleaning Cloth with Cleansing Oil then wipe it clean.
Note: Please keep the bottle well-sealed to prevent it from evaporation.
Other Accessories
- Syringe Bundle
- Swab
- Cleaning Cloth
- Repair Kit Manual
Shipping & returns
Delivery estimates and available services are calculated from destination, weight, volume, and active shipping rules.
VERIFIED FEEDBACK
Customer reviews
—No approved reviews yet
No approved reviews yet. Be the first to share a useful, honest review.
You may also like





SEX DOLL ACCESSORIES REPAIR KIT$949.00
Price match forSEX DOLL ACCESSORIES REPAIR KITCurrent price $949.00